Someone at work broke my favourite mug. Well, the freebie mug I was using. Clearly I needed a new one, and the only logical solution was to build a machine to draw the image of my choice onto a blank mug.
Evil Mad Scientist sell an egg bot kit – it draws a design onto an egg (or other broadly spherical object) using a couple of stepper motors, controlled through an Inkscape plugin. The control board is available separately (the whole project is open source), and is a fairly neat 2-stepper and single-servo controller, connecting to the host PC as a serial port over a USB cable. Hence most of the electronics and software were already taken care of, and I could concentrate on the hardware.
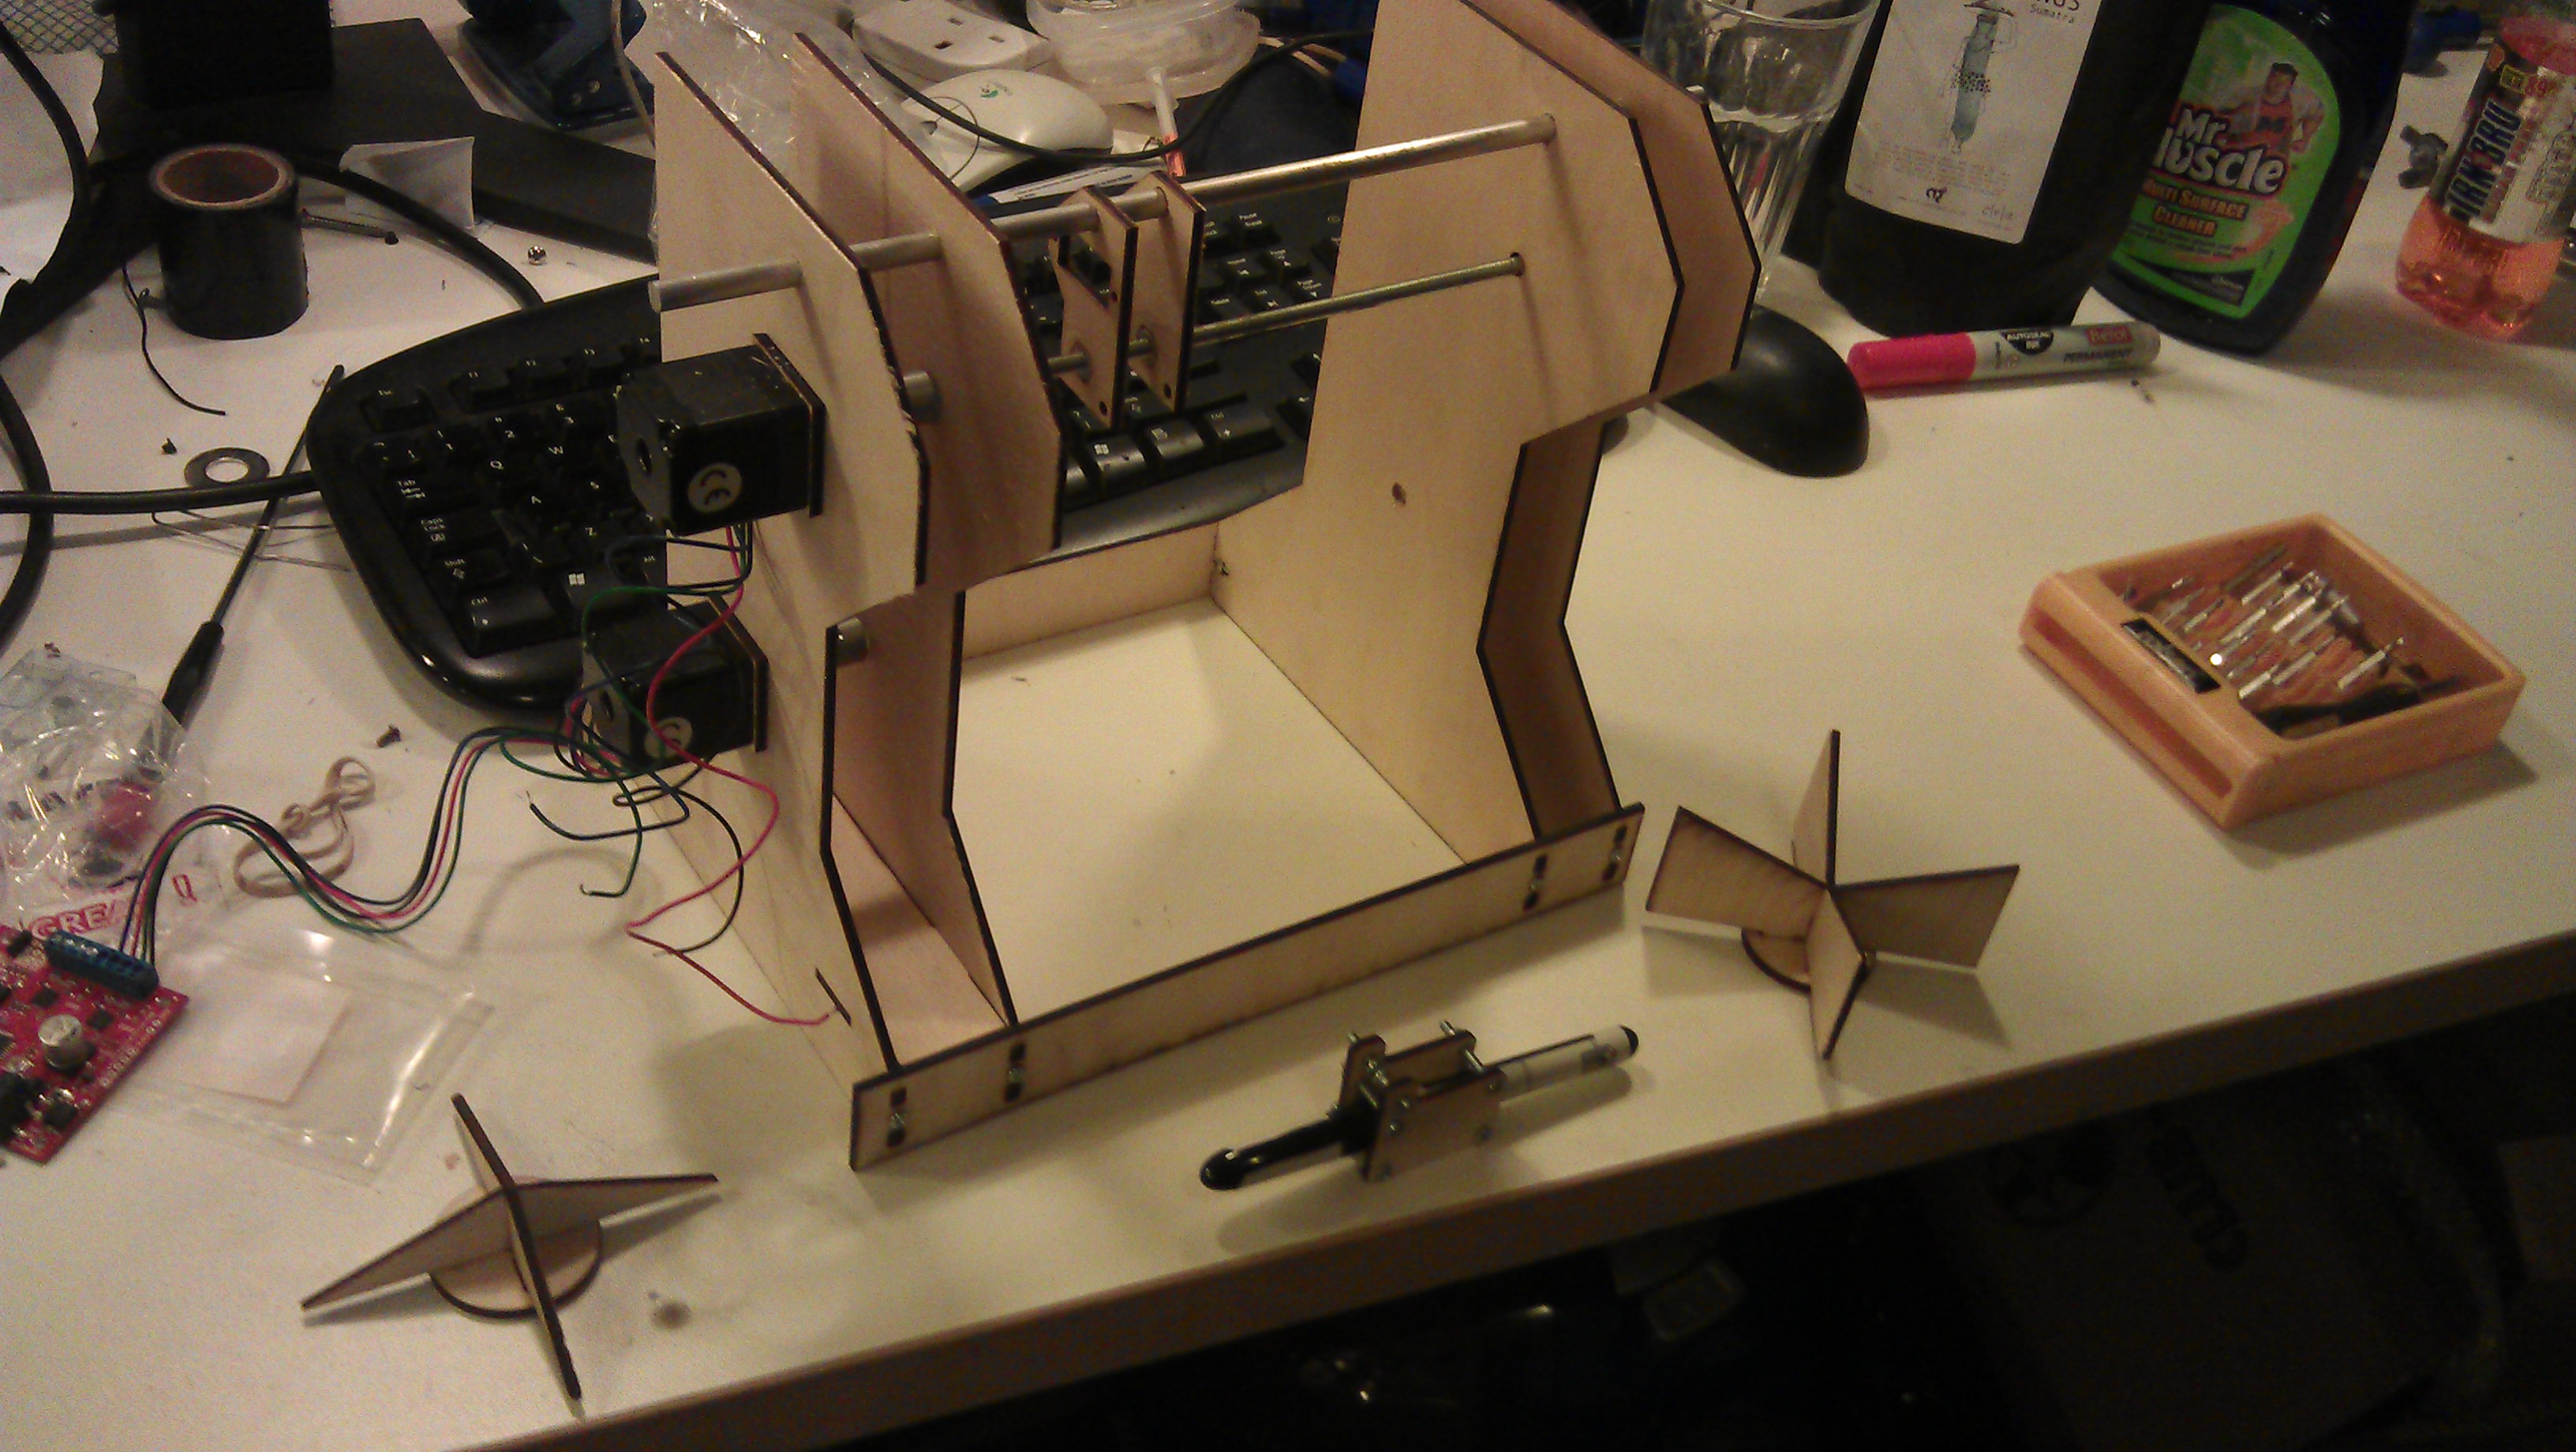
The partially assembled machine
The laser cutter provided most of the structural pieces. The mug is held between the two crosses – one is convex to hold the open end of the mug, and the other concave to hold the base. One end is attached to the first stepper while the other is just spring-loaded. Some rubber draft-excluder tape provides some grip. In theory this arrangement is reasonably self-centering but in reality it takes a degree of adjustment to get it right, and the weight of the mug tends to pull it down.
The pen is held on a simple frame with a couple of nuts glued in place, which sit on a screw thread driven by the other stepper. The pen is held by a servo, lifting it clear of the mug when not drawing. The original idea was for the pen frame to slide on the upper rail, using a bit of aluminium tube as a cheap linear bearing, but it had a tendency to seize and ended up just resting against the side of the rail, with the weight of the pen and servo holding it in place.
As mentioned above, the board is controlled through an Inkscape plugin. This assumes that both steppers only turn through a maximum of 360 degrees, so a quick hack of the plugin was required – luckily it’s written in Python. I found the line which generates the final coordinates to send to the board, and edited it so the second axis is multiplied by a constant. This has the neat advantage of not affecting the speed calculations, so the machine draws at roughly the same speed. It’s probably worth moving the multiplyer into the options menu within Inkscape, since it’ll need to be tweeked for different mug sizes.
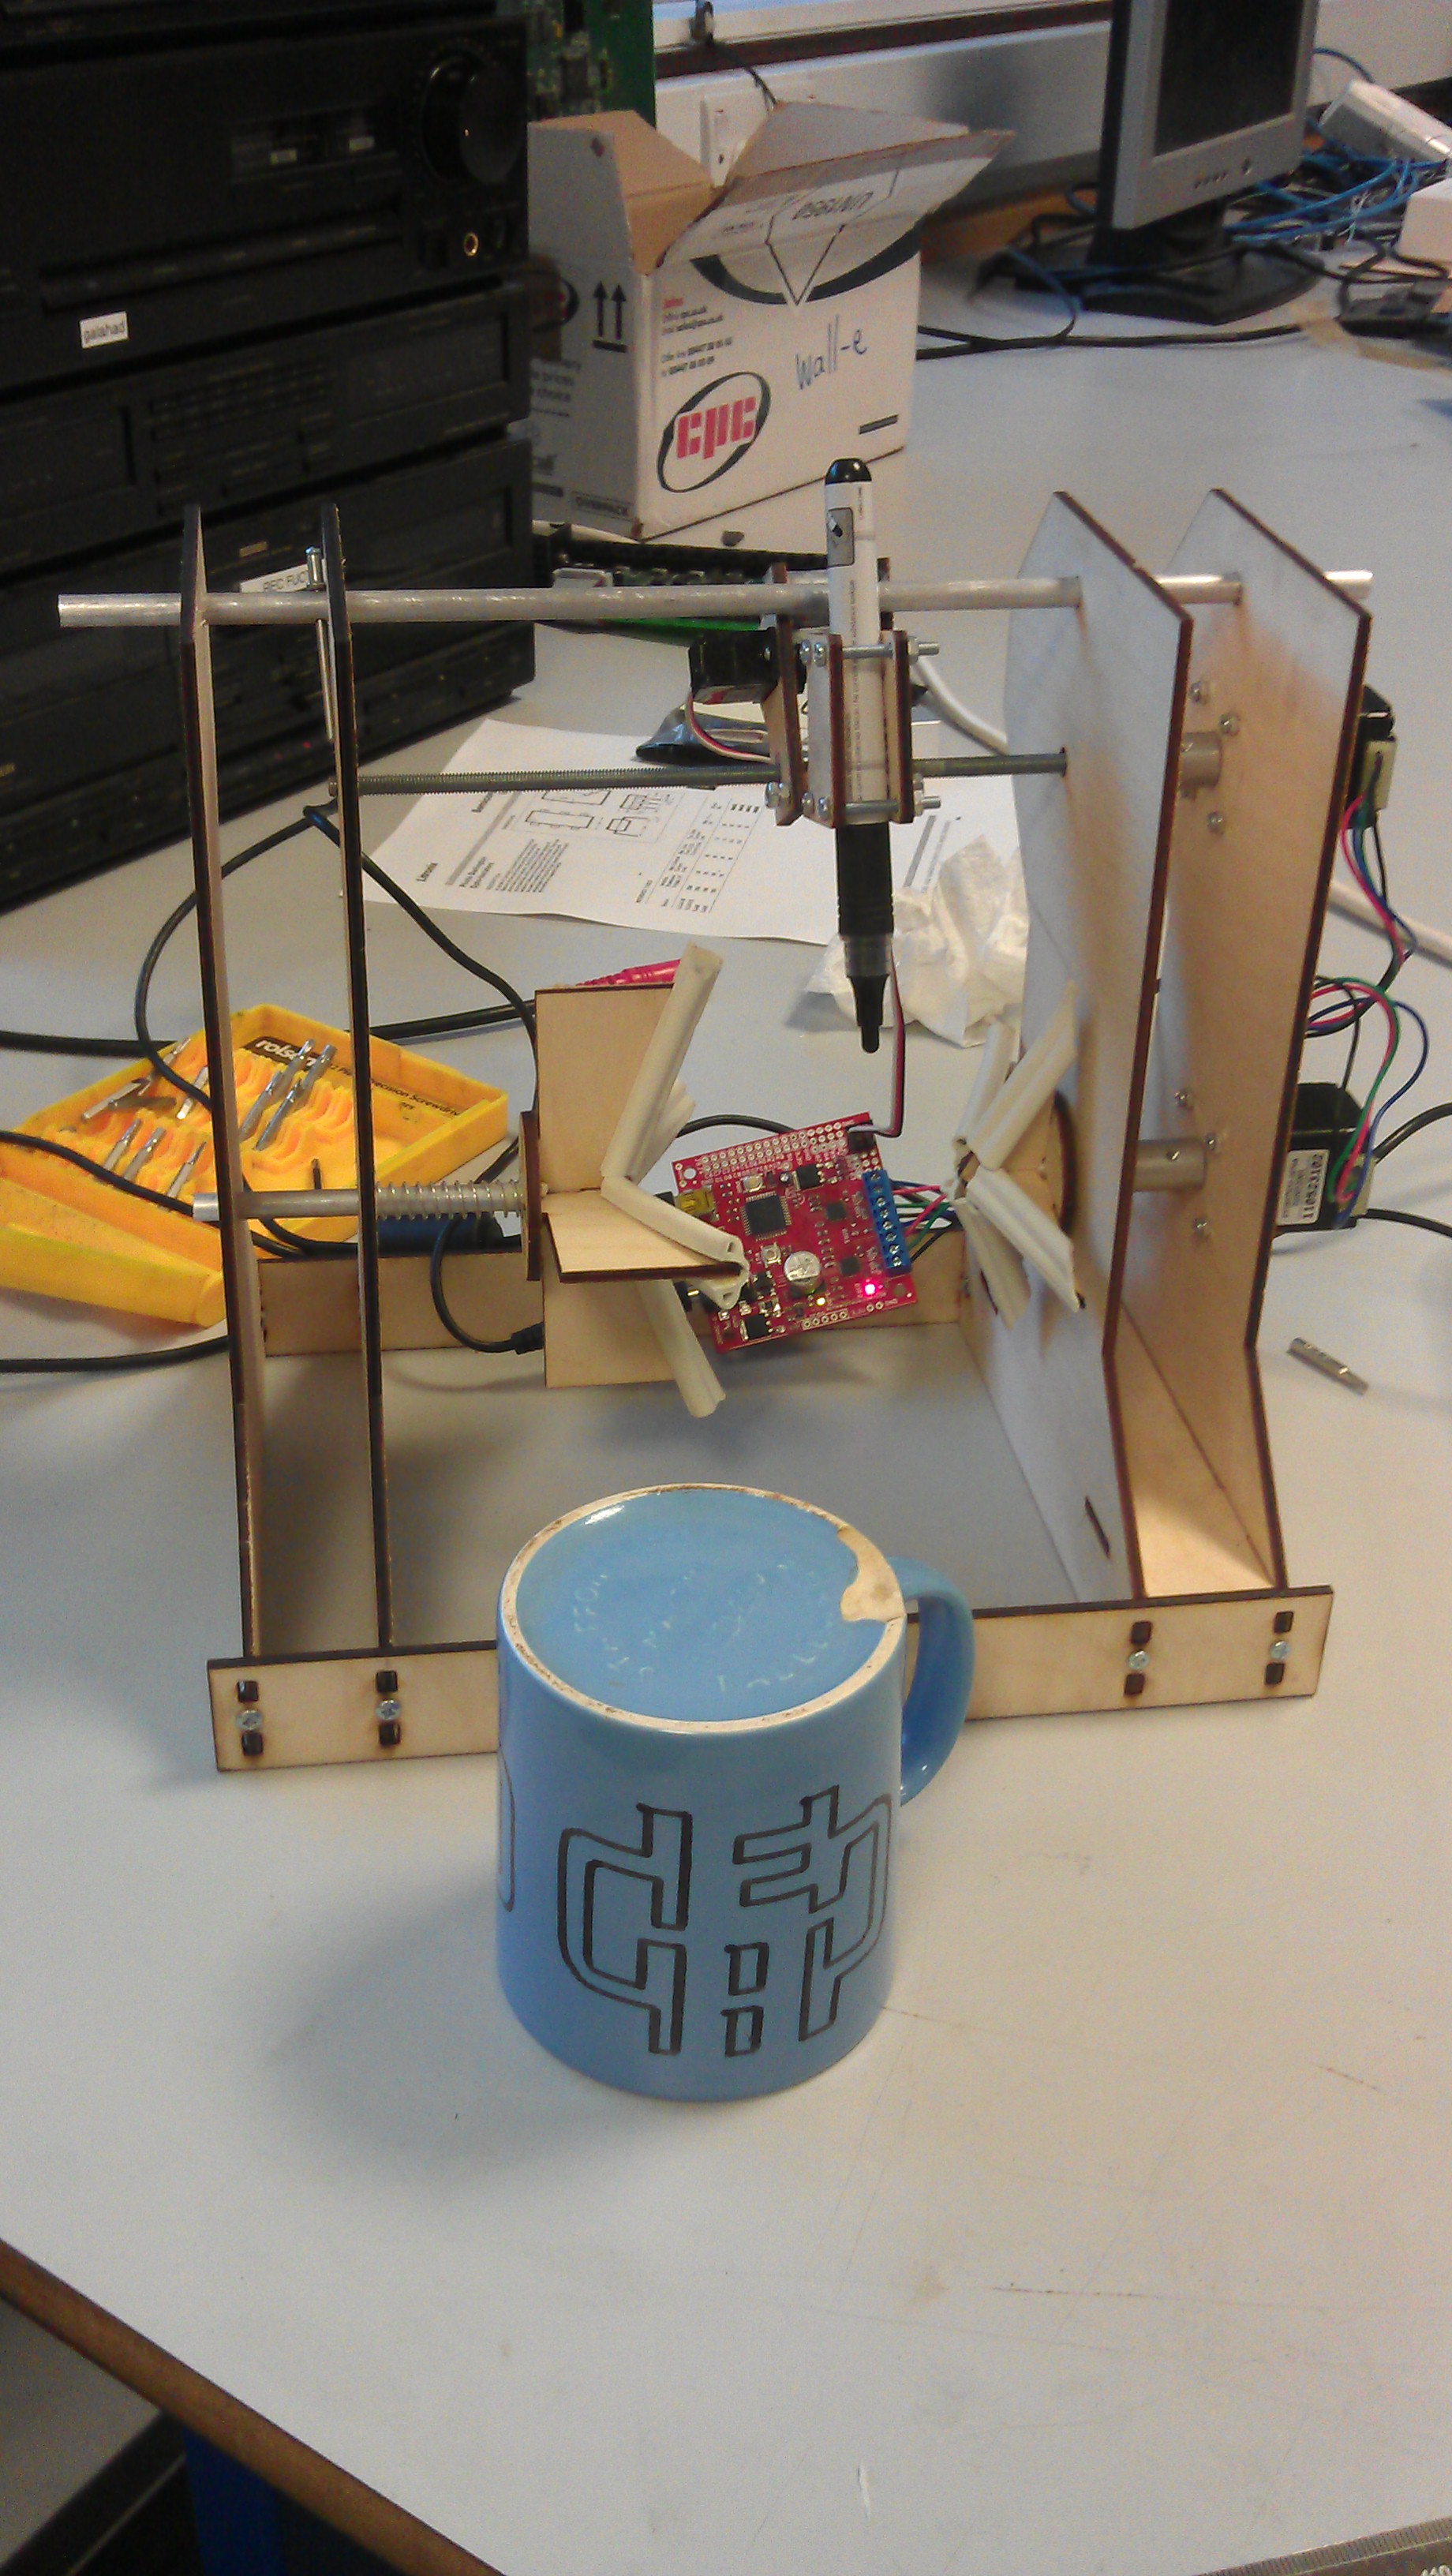
The completed mark I, with the first test print
A mark II seems inevitable at this point, as there are a couple of areas that need some work. The first is the pen assembly, which is currently supported by the screw and only rests against the second guide rail. Ideally the weight should be taken by the guide rail, and given the lack of success with the aluminium tube it probably requires either a proper linear bearing or a couple of wheels to run against the rail. The screw thread is also attached directly to the stepper motor, and tends to wobble slightly; a better arrangement would be to support it on its own bearings and attach it to the stepper via a universal joint.
The other area needing some work is the mug mount – getting the mug centered takes a bit of effort and I suspect it’s being dragged down by its own weight. There’s also a strange stagger seen on what should be adjacent lines on the test jobs (visible on the E in the logo in the image above), which I suspect is the mug slipping in the grips. I have in mind something to grip the handle of the mug, and hence prevent it from slipping, but someone suggested a support which would go inside the mug and grip it from within, and that sounds too good to ignore.
“the only logical solution was to build a machine to draw the image of my choice onto a blank mug.” Hahaha. Looks great!
Looks good Ted!
How about rotating the whole thing so that the mug sits upright in the machine? Would that help or does the pen need gravity?
Mike suggested that too. The pen needs gravity at the moment, but that could easily be fixed with a spring, and I think the benefits of having it sit upright would outweigh any effort there.
Great Idea…… I’ve been trying to build a similar thing for engraving pens I make….. nd wa not aware of the Eggbot until Istumbled on your post in Instructables.com. (i’m trapper23) based in S. Wales.
Would you be offended if I adopt this concept for my machine. The pens are up to 7inches long and vary in diameter from 9mm – 15mm. I guess I need to work out the programming a tad preferrably with a menu for variable diameter of the pens.
Sadly I cannot afford £25.00 per month as I’m just starting out on self employment but would be grateful of any guidance on the programming issues
Regards
Steve
Hi Steve,
you’re welcome to do whatever you want with the idea – the instructables post was released under the Attribution Non-commercial Share Alike license, ie you can do anything you want with the files I uploaded, but ask first if it’s commercial. If you’re just using the general idea and not the .dxf file then I guess the license isn’t important, but it’s probably worth checking what license the original eggbot software is under.
A pen printer is a neat idea – I’d love to see how you get on. It’s been a bit of a struggle to get the accuracy of the machine up though; it’s quite forgiving of a big logo on a mug, but a small image on a pen might be a bit trickier. I got the greatest improvement from putting bearings on the screwthread to keep it constrained, and adjusting the hinge on the pen holder so there wasn’t any lateral play.
I’m not an expert on the programming, it was really a bit of a kludge. I’ve managed to talk someone else in the states through it though so give me a shout if you’ve got any problems.
Thanks Ted, My idea is to use a stepper to drive a mandrel supported at the oposite end on a revolving centre so bearings are therfore not required as of course they are integral to the set up. The “pen” of your design will be replaced by a small rotary tool with engraving heads in effect a milling set up over the revolving axis………. well such is the theory!!!
hi
i need to contoroler eggbot machine
can you help ?i need PCB file
Howdy. I’m afraid I just bought the controller board, but it’s an open-source design anyway. You can find the PCB files here:
http://www.schmalzhaus.com/EBB/
i not find pcb file in this address.
if pcb file is there can you mail to me?